Starting a garden from seed is a fantastic way to enhance your gardening skills. Native seeds require a bit more attention due to natural adaptations that prevent them from sprouting at the wrong time. To help them germinate successfully, you’ll need to break this dormancy through a process called stratification. It’s a simple pretreatment that mimics nature’s winter conditions.

To germinate the seed coat needs softening. This will allow moisture to reach the embryo and kickstart germination. I always encourage home gardeners to try stratification-it’s a fun and rewarding challenge. There’s something satisfying about being able to say, “I grew this from seed!”
There are different types of stratification, and different seeds will have different requirements. A good seed supplier will provide this information right on the packet. Two of my favorites are Missouri Wildflower Nursery based near Jefferson City, and Pure Air Natives based in St. Louis.
Cold Stratification (CS)
Cold stratification is also known as dry stratification. CS seeds require a period of low temperatures to soften their seed coat. I simply place my seed packets in the refrigerator-just make sure they don’t freeze. Temperatures between 33-41°F break dormancy within one to three months. I recommend storing in the middle of the fridge to avoid temperature fluctuations that happen in the door shelves. Once the chilling period is over, sow your seeds in flats and place them outdoors or under artificial light indoors to germinate.

Alternating Stratification (AS)
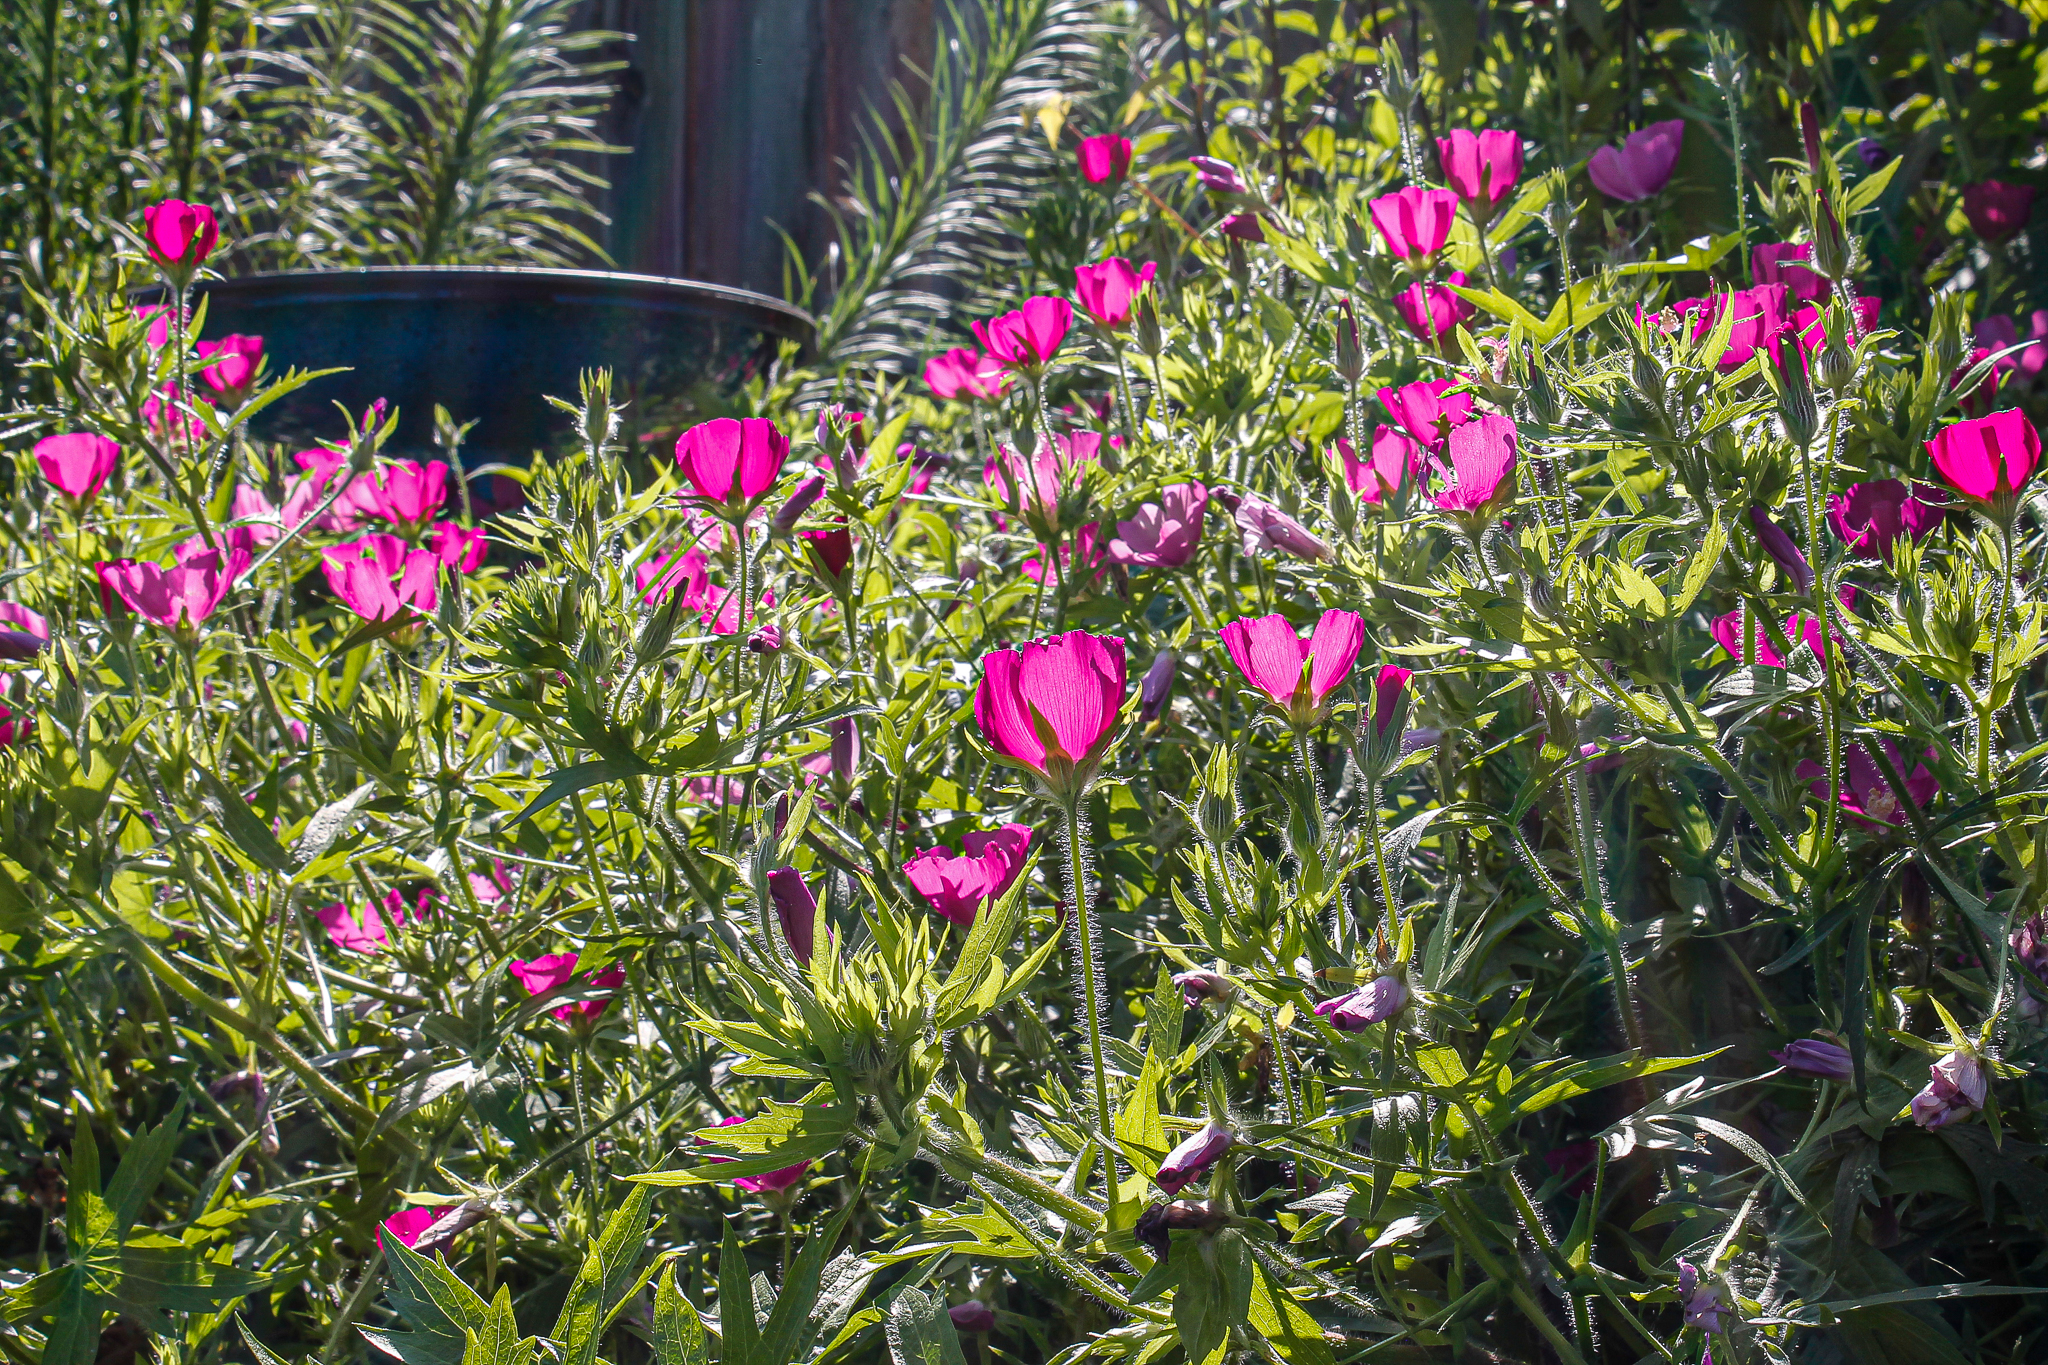
Some seeds require multiple seasons of dormancy to germinate- a cycle of cold, warmth, and then cold again. To mimic this natural process, you can alternate between placing your seed packets in the fridge and in a warm spot, like your pantry, to simulate the necessary temperature shifts. Purple poppy mallow (Callirhoe involcrata) is a great example- often requiring two years to germinate naturally.
Cold/Moist Stratification (CMS)
Cold/Moist Stratification (CMS) is the most common method for seeds. It mimics the cold and damp winter conditions of our Midwest climate. CMS can be done either in the fridge or outdoors.

The refrigerator and paper towel method is a popular indoor approach for CMS. Simply dampen a paper towel, place it in a Ziplock bag, add your seeds, and store it in the fridge. While this method works, it isn’t my favorite. It takes up valuable fridge space and the radicle (embryonic root) can get tangled in the towel, making the transfer to soil tricky. Some gardeners suggest turning the bag upside down to keep the towel above the seeds.
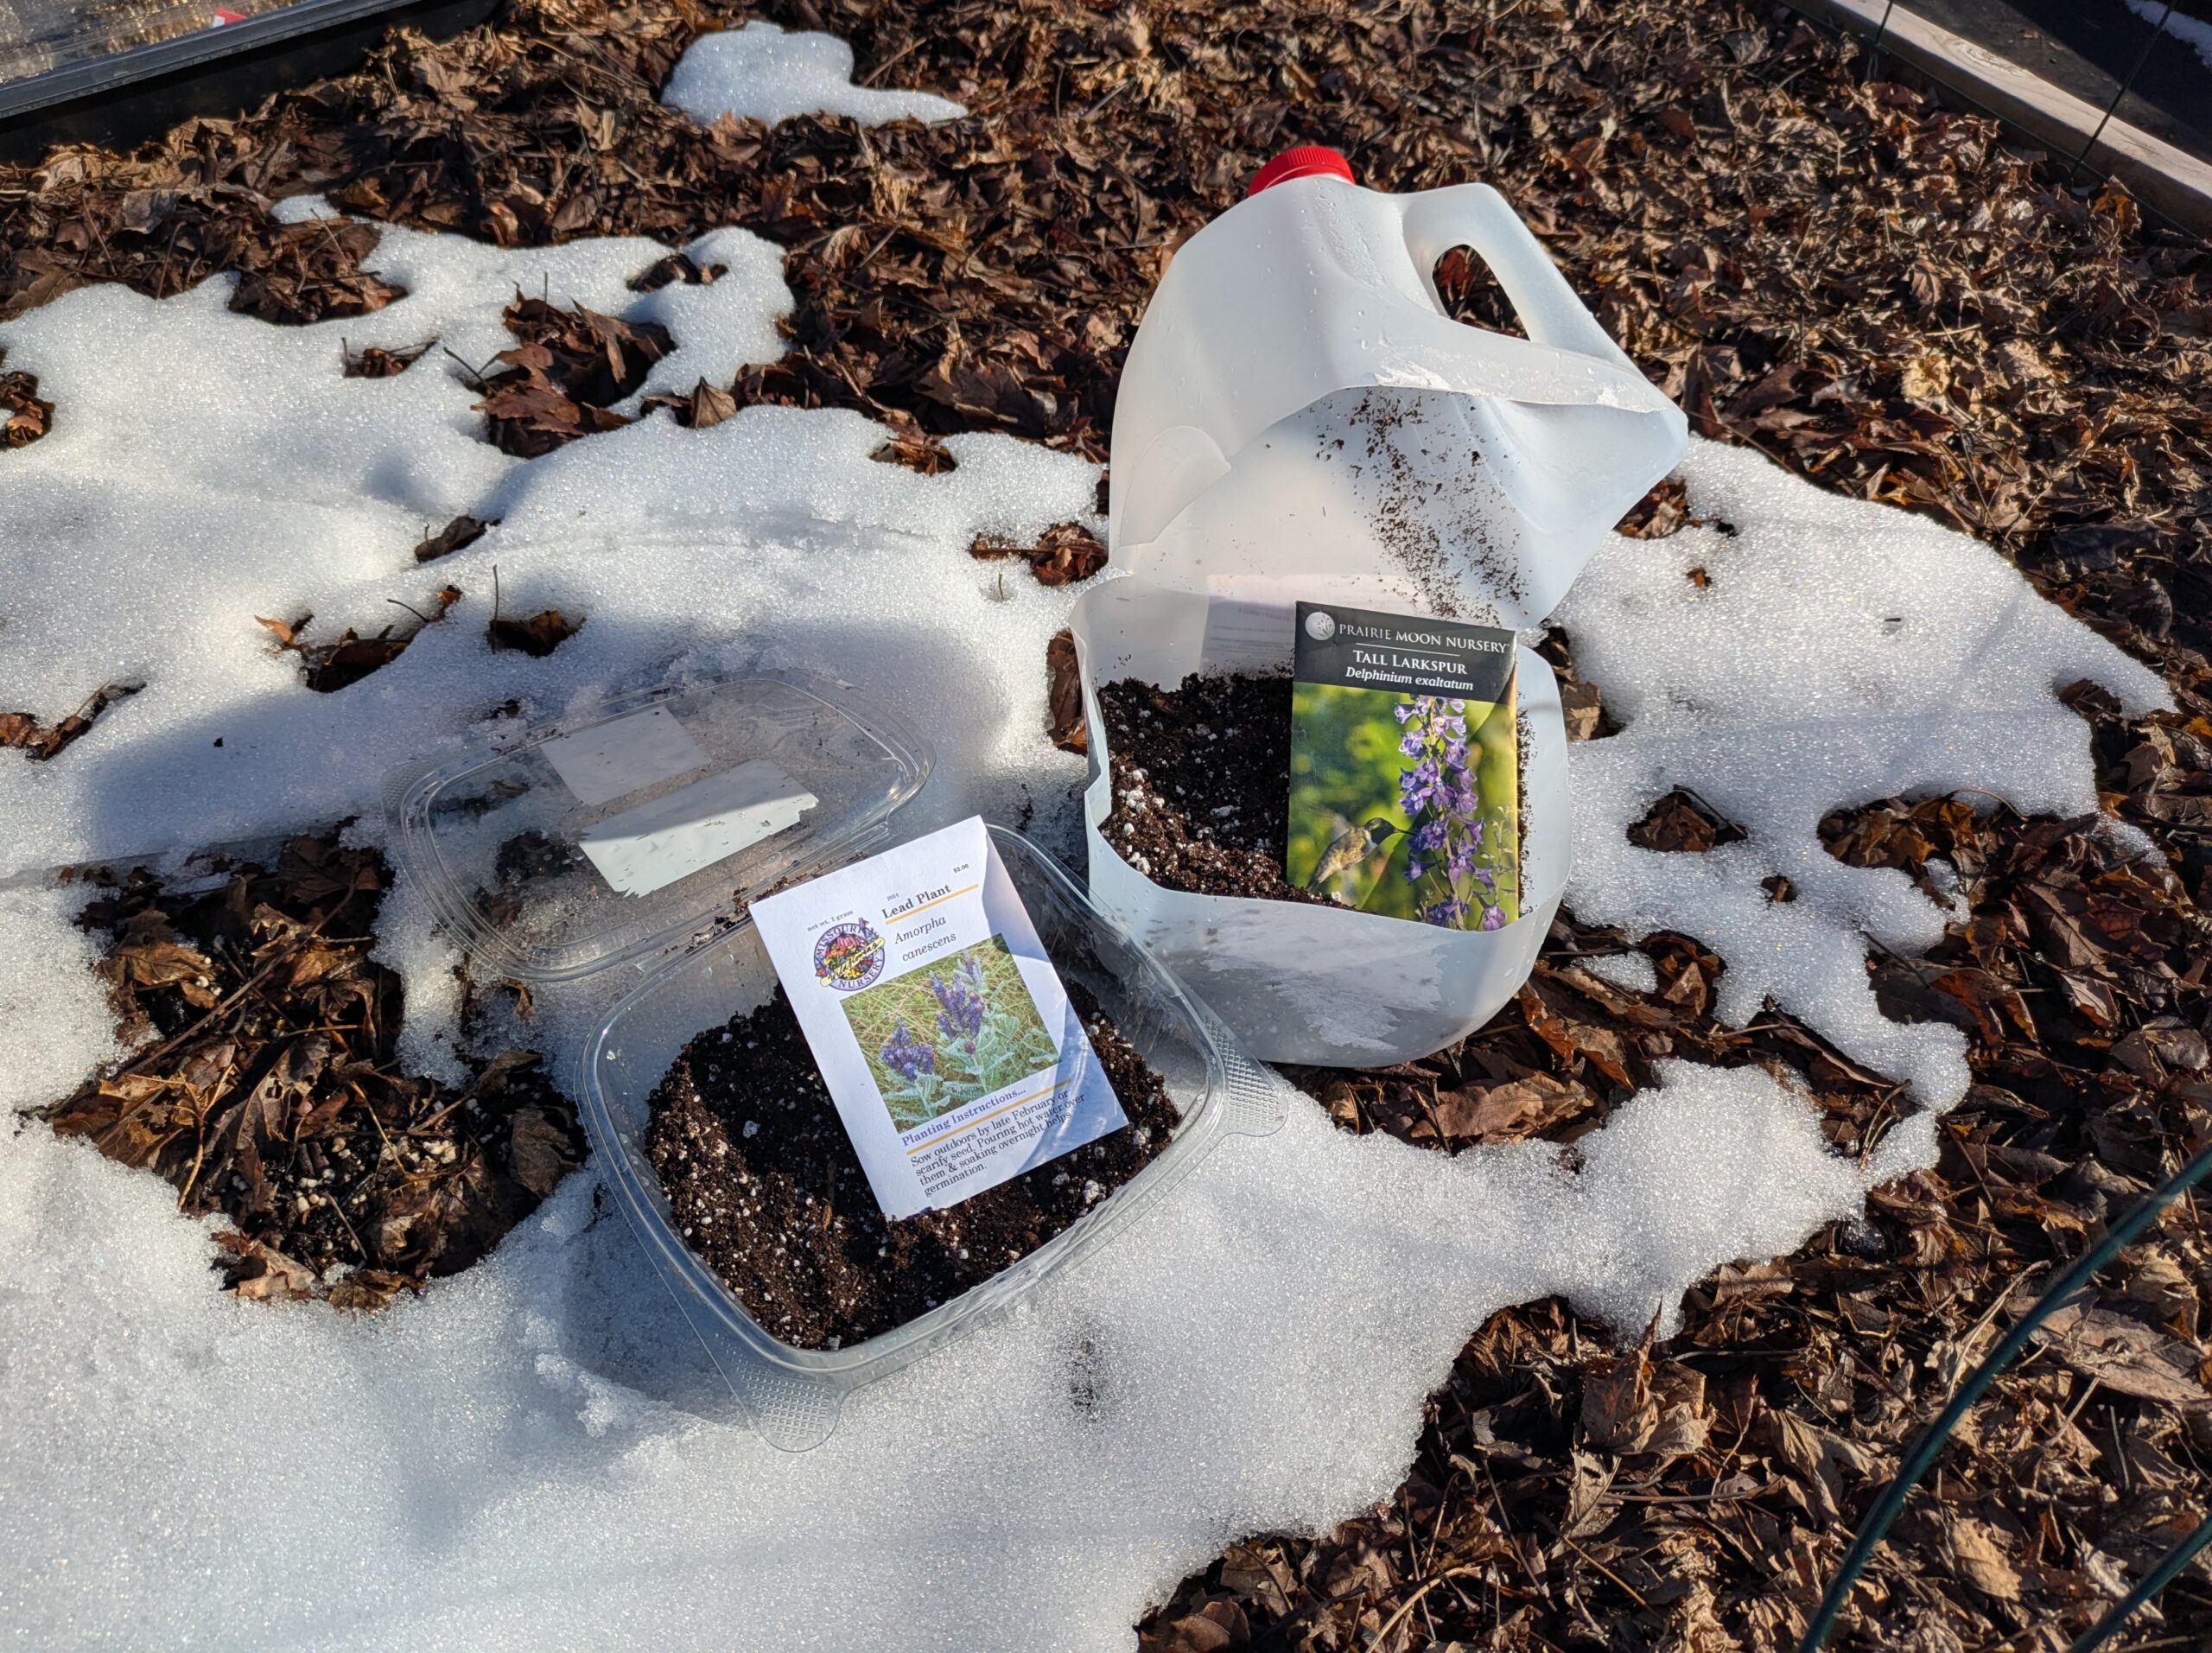
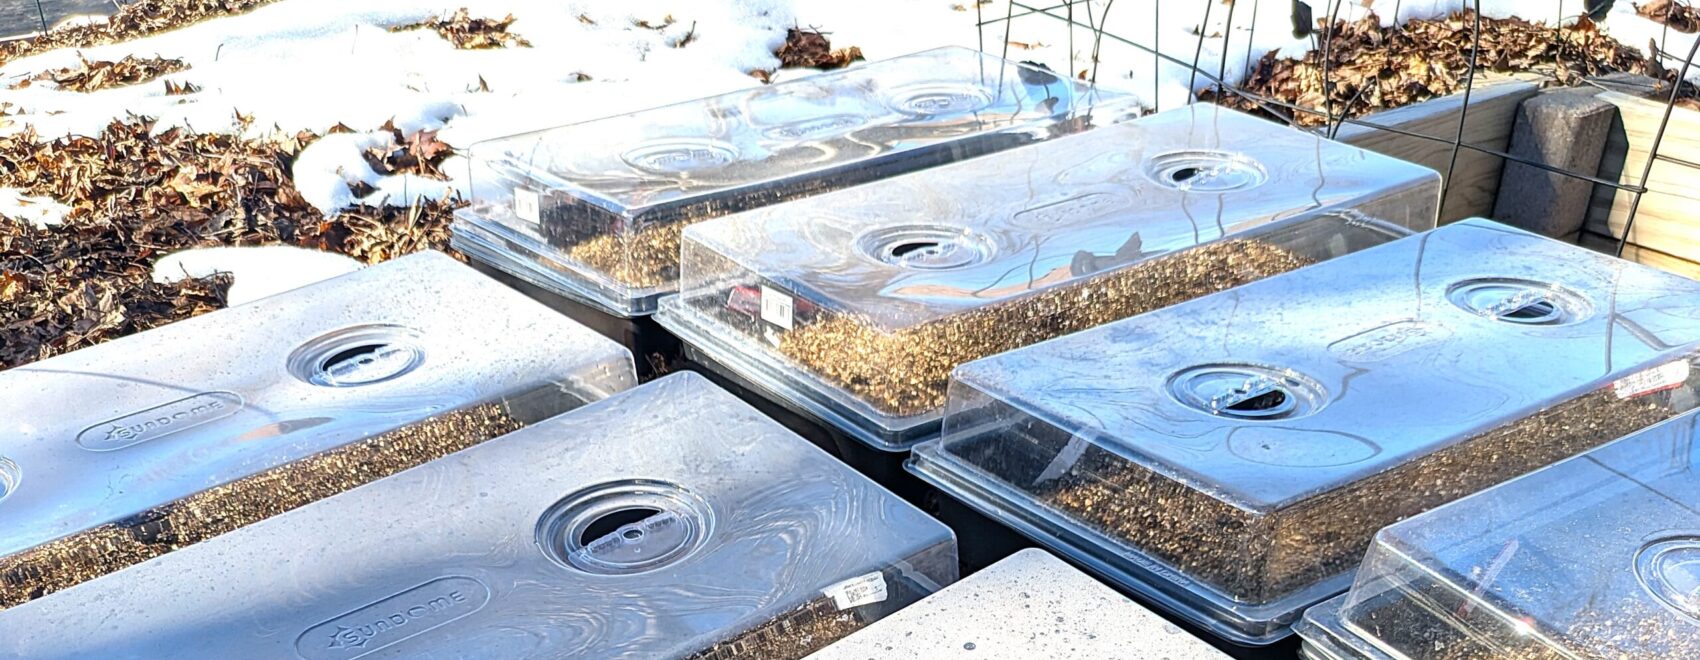
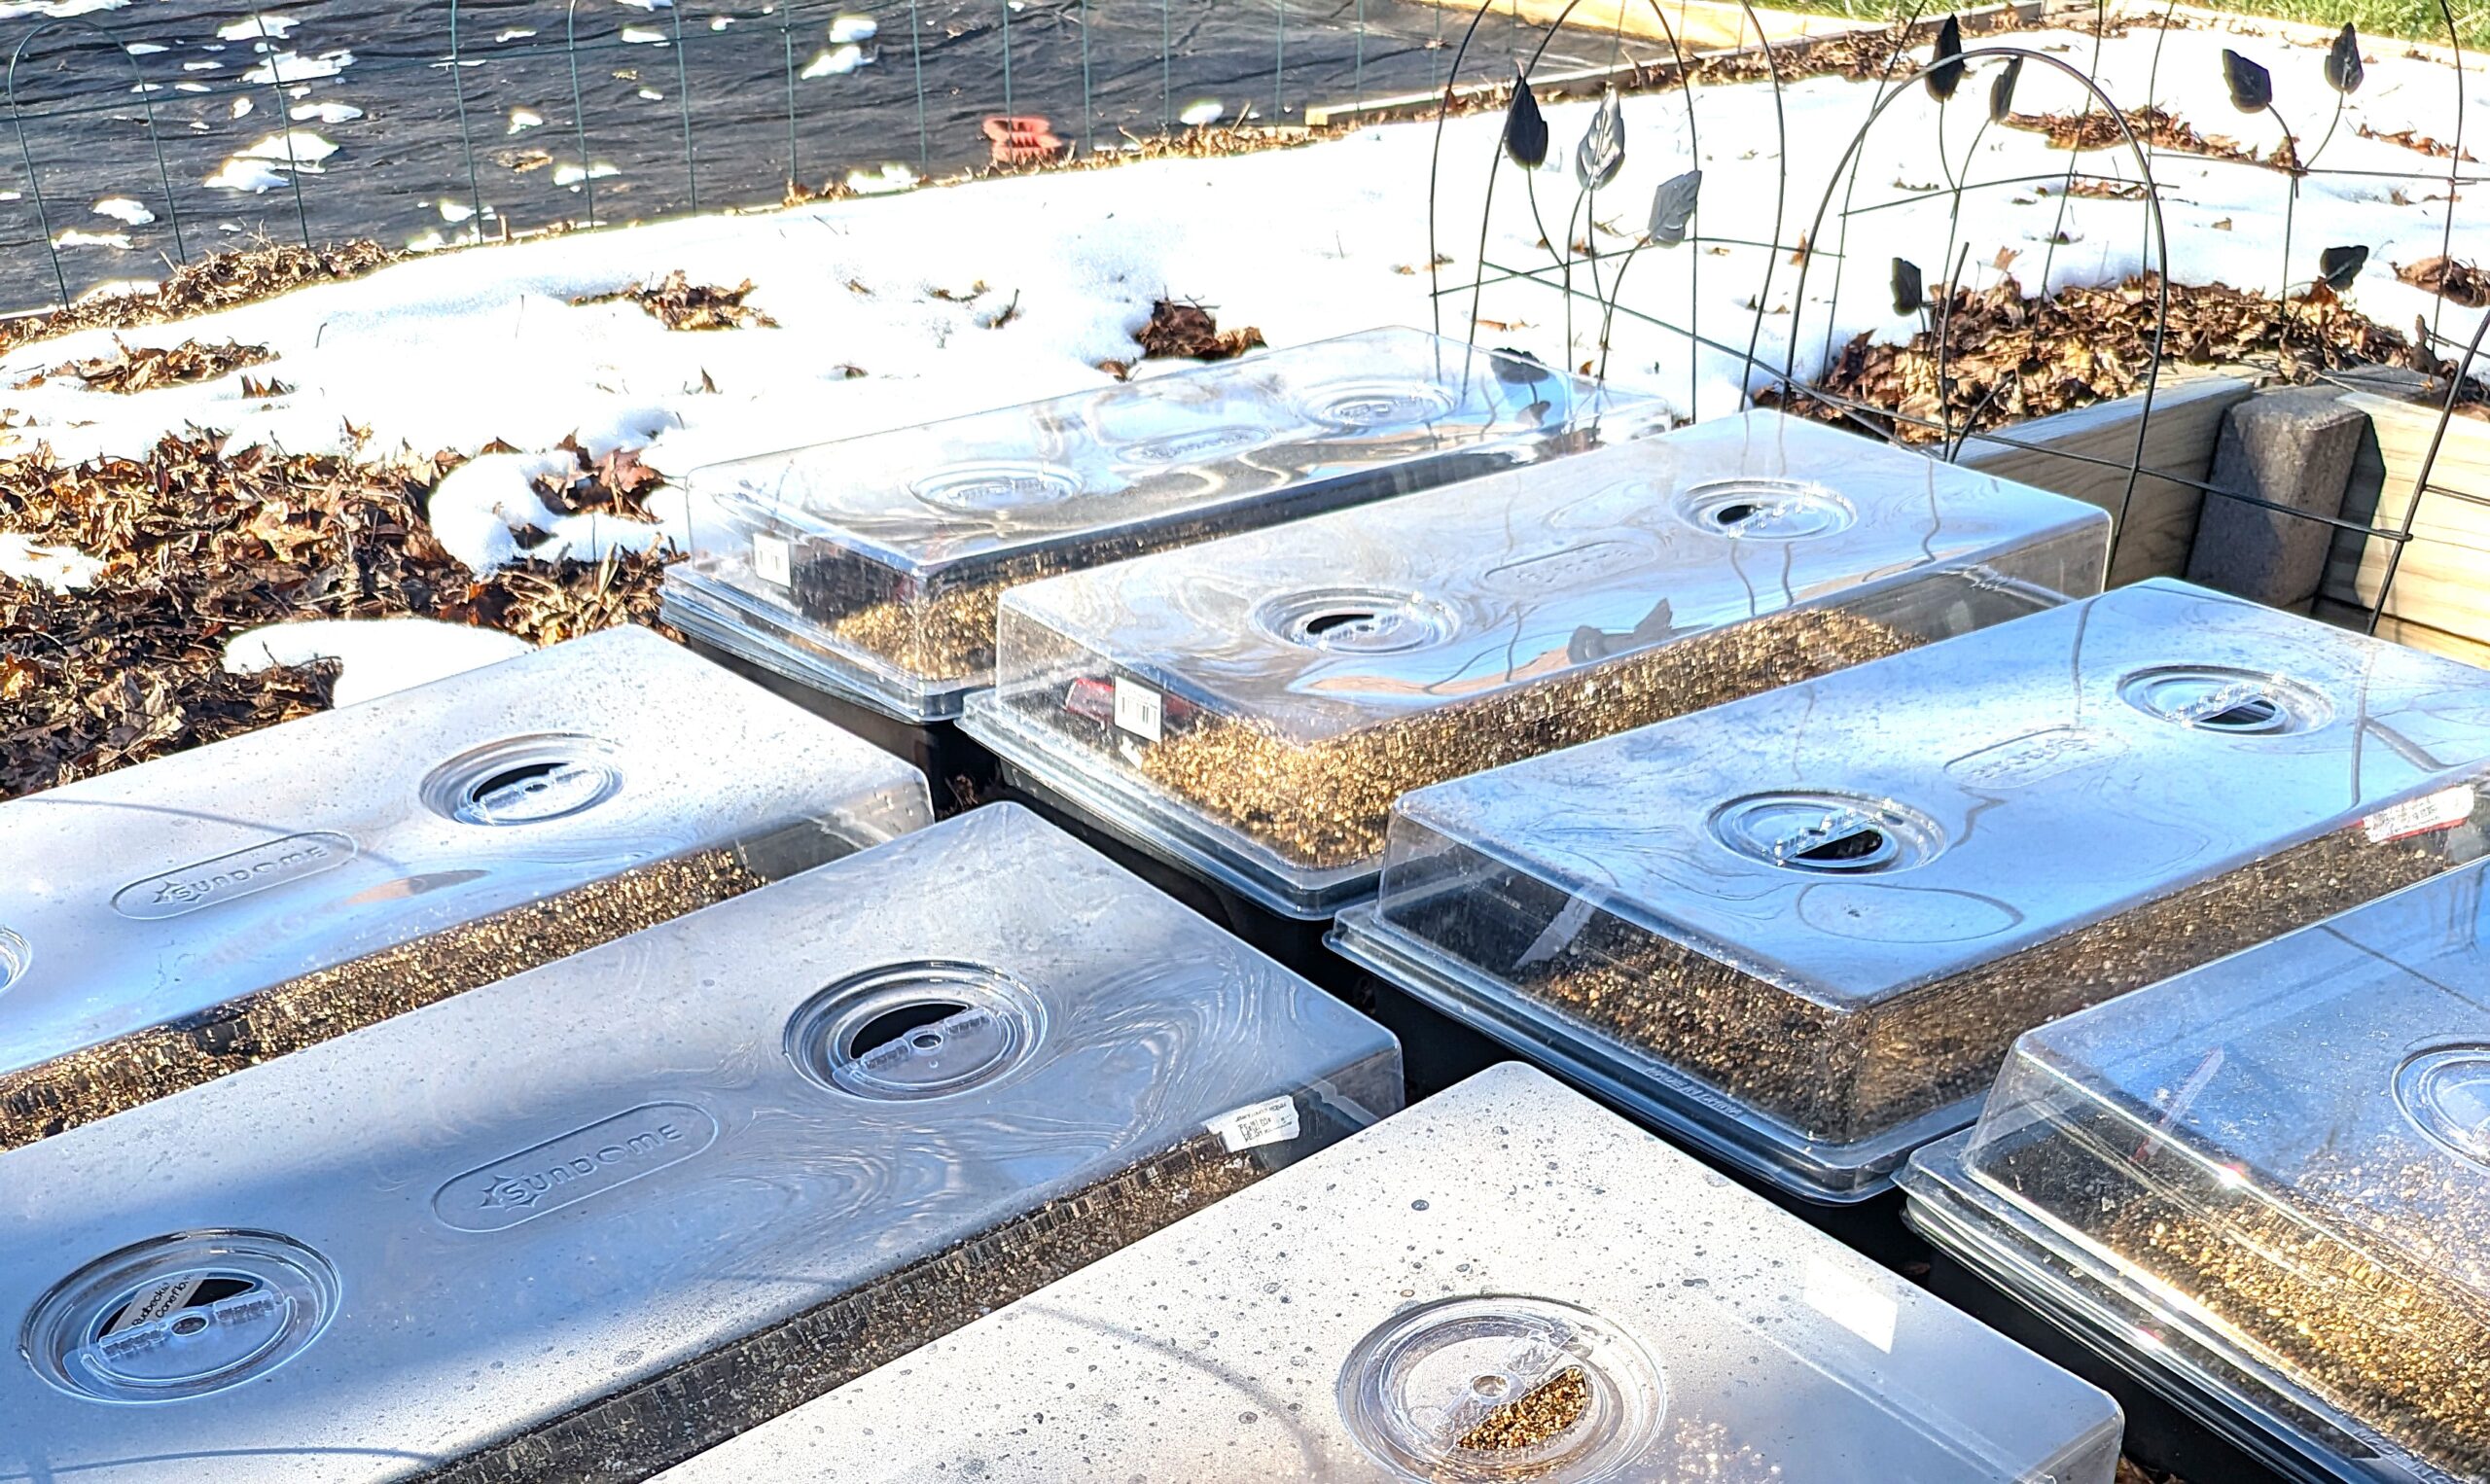
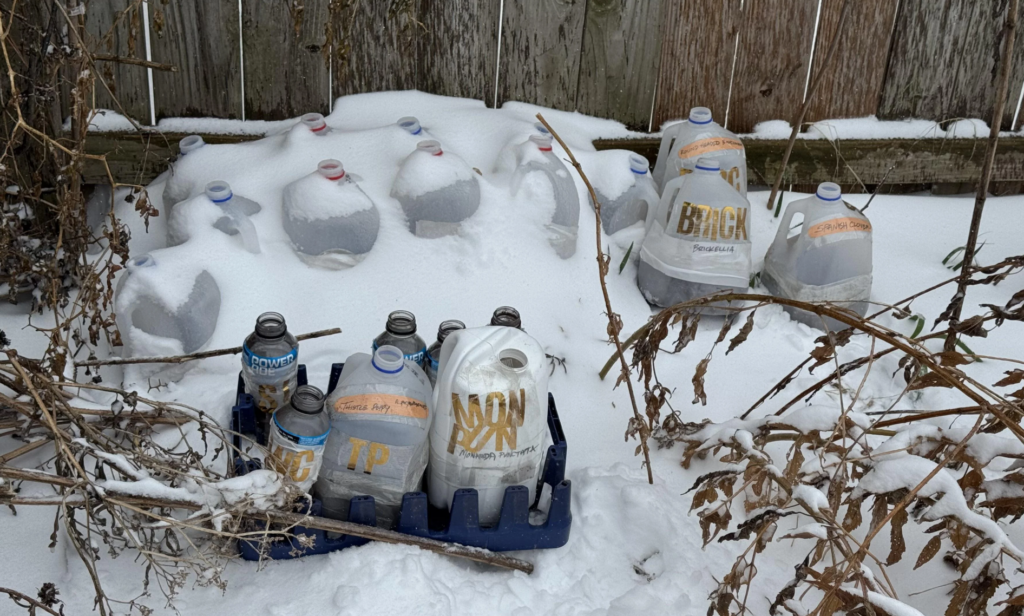
For outdoor cold/moist stratification, the milk jug method is popular. It’s a sustainable way to reuse plastics that might otherwise go to the landfill. You can use milk jugs, juice bottles, or clamshell packages. Use any similar container that provides 3-4 inches of soil depth and 4-6 inches of headspace. At Pollen to Petal, we use nursery flats and humidity domes for better organization in our nursery. We sanitize and reuse our flats multiple times to minimize waste.
To use milk jugs or juice bottles, cut three sides of the container to create a flap lid that makes it easy to add substrate, seeds, and check on the germination. Cut drainage holes in the bottom so seeds don’t drown and rot. Fill the bottom with lightly hydrated soil. Gently tamp down without compacting, as the roots need space to grow. Sow the seeds on the surface. Most native seeds don’t need to be buried. Lightly firm to ensure good seed to soil contact. Water in. Keep lids and vents open for gas exchange an access to moisture. Don’t forget to label your containers!
Place your containers outside for the winter. Locate them in an area where they will receive moisture from snow and rainfall but are protected from winds that may blow over containers.
Be sure to check your CMS containers occasionally. If it’s too dry, water them gently.